 how-to
How to Verify Electronics Build Quality: Step-by-Step
Table of Contents
- Step 1: What You'll Need Before You Start
- Step 2: Visual Inspection Techniques for Electronics Build Quality
- Step 3: How to Spot Counterfeit Electronics
- Step 4: The Importance of UL Certification for Electronics
- Step 5: Consumer Electronics Inspection Checklist
- Step 6: Functional and In-Circuit Testing Methods
- Step 7: Common Mistakes to Avoid When Verifying Electronics Build Quality
- Frequently Asked Questions
Last Updated: September 14, 2026
Step 1: What You'll Need Before You Start
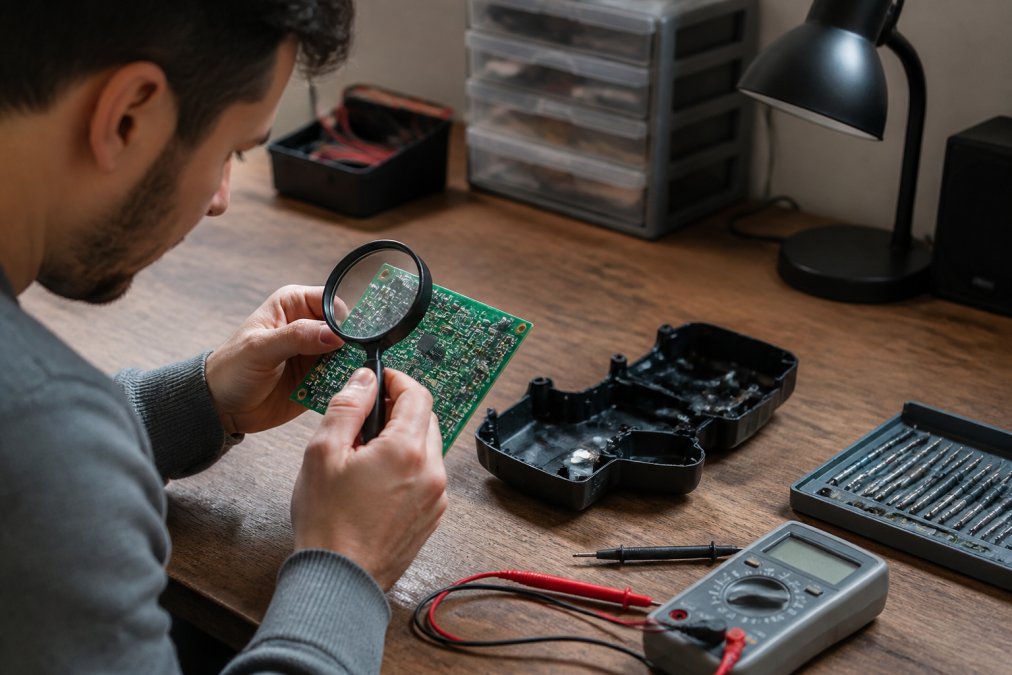
Verifying electronics build quality starts with preparation, not inspection. Rushing into a teardown without the right tools or a safe workspace leads to damaged components and missed defects.
Electronics build quality is the measurable degree to which a device's assembly, soldering, components, and finish meet manufacturing standards for safety and reliability. A disciplined verification process separates durable devices from ones that fail within months.
Basic Tools for the Job
- A digital multimeter with continuity and resistance modes
- A magnifying glass or jeweler's loupe (10x minimum)
- Non-marring plastic pry tools and a precision screwdriver set
- Isopropyl alcohol and lint-free wipes for cleaning contact points
- An anti-static wrist strap and mat
How to Prepare a Safe Test Area
Work on a non-conductive surface in a well-lit room. Ground yourself with an anti-static strap before touching any board. Keep beverages away from the bench, and photograph each disassembly stage so you can reassemble correctly.
Step 2: Visual Inspection Techniques for Electronics Build Quality
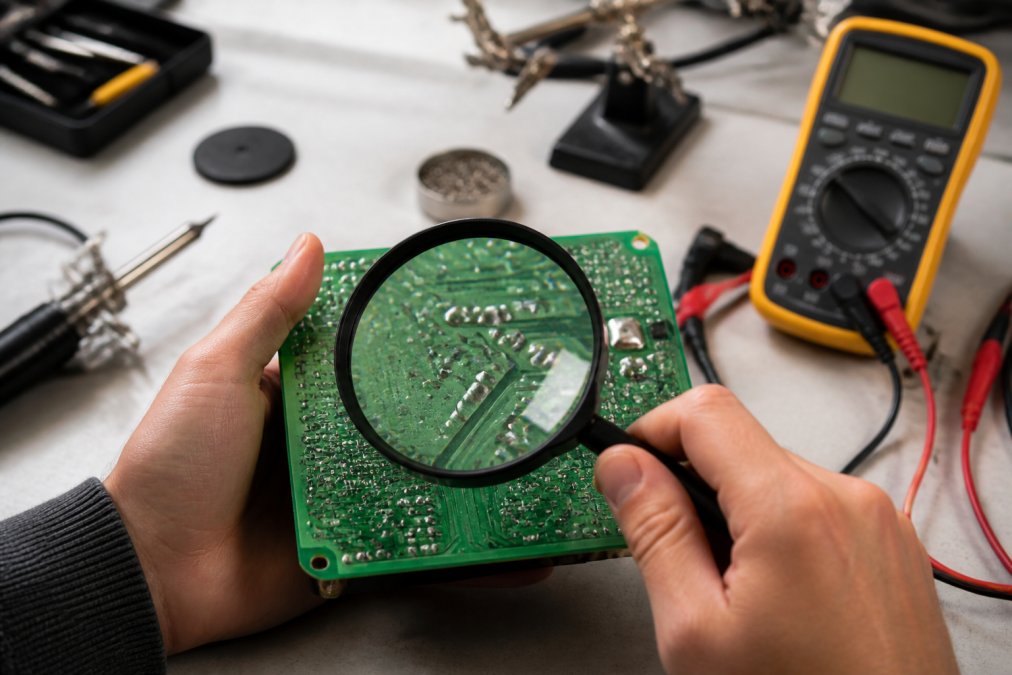
Visual inspection is the fastest way to judge electronics build quality before powering anything on. Most assembly defects leave visible evidence: uneven solder, misaligned parts, or sloppy finish work.
What to Look For on the Outside
Check the seams between housing panels for uneven gaps. Run a finger along edges; a well-built case feels consistent, not sharp or loose. Inspect screws for stripped heads, which signal either poor factory tooling or a prior repair.
Solder Joint Inspection Inside the Case
Open the enclosure and examine the PCB assembly under magnification. Good solder joints look shiny and concave, forming a small fillet around the lead. Dull, cracked, or ball-shaped joints point to cold soldering or insufficient heat during manufacturing.
- Look for flux residue around joints
- Check for bridged pins on fine-pitch SMT components
- Confirm capacitors sit flush against the board
Step 3: How to Spot Counterfeit Electronics
Counterfeit electronics range from cloned chips to relabeled lower-grade components, and they undermine every other quality check you perform. A counterfeit part can pass a visual inspection, power on correctly, and still fail months later because its internal die, wire bonding, or thermal rating does not match the genuine specification. Learning how to spot counterfeit electronics protects both your money and your safety.
Packaging and Labeling Red Flags
Compare the label font, spacing, and ink quality against the original equipment manufacturer's published markings. Misspelled part numbers, inconsistent logos, or packaging that feels flimsy are common tells. Check the date code against the manufacturer's format, a date code that predates the part's introduction, or one that is printed in a different font than the rest of the label, is a strong warning sign.
Other packaging tells worth checking:
- Holographic or security stickers that peel off cleanly instead of leaving a residue pattern
- Moisture-barrier bags without a humidity indicator card, or with a card that is already pink
- Reels of SMT components where the tape pockets are uneven or the cover tape tears instead of peeling
- Part markings that rub off with isopropyl alcohol, genuine laser-etched markings usually survive a light wipe, while cheap ink does not
Testing Component Authenticity Without a Lab
For high-value parts, professionals use decapsulation or delidding to expose the silicon die and compare it against known-good references. X-ray imaging can reveal die size and bond-wire layout without destroying the part. Those services exist through independent test labs, but they cost more than most consumer devices are worth.
Non-experts can still run a meaningful quick-check:
- Weight comparison. Counterfeit chips are often lighter or heavier than the genuine part because the package material or lead frame differs. A cheap jewelry scale with 0.01 g resolution is enough to catch obvious mismatches.
- Pin and lead inspection. Genuine leads are uniform in thickness and plating color. Re-tinned or re-marked parts often show uneven plating, solder wicking up the leads, or slightly bent pins from a previous desoldering.
- Simple electrical signature. With a multimeter in diode mode, compare forward-voltage readings on a known-good part against the suspect one. Wildly different readings on the same pin pair suggest a different die inside.
- Lot and distributor verification. Look up the lot number through the manufacturer's authorized distributor portal. If the lot does not exist, or the distributor is not listed as authorized, treat the part as suspect.
- Thermal behavior. Under normal load, a counterfeit power component often runs noticeably hotter than a genuine one because the die is smaller or the thermal path is poorer. An inexpensive infrared thermometer can flag this.
According to U.S. Customs and Border Protection guidance on counterfeit goods, counterfeit electronics remain a persistent risk in global supply chains, which is why component sourcing from authorized channels matters.
Step 4: The Importance of UL Certification for Electronics
The importance of UL certification for electronics comes down to independent proof that a device meets safety standards, not just the manufacturer's word. UL testing covers fire resistance, electrical shock hazards, and component ratings.
Look for the UL mark on the product label or in the user manual. A genuine mark includes a file number you can verify directly through UL's online product database. Devices sold without certification may still work, but they carry unverified risk in the exact areas that cause house fires and shocks.
For smart home devices and health trackers, certification also signals that the manufacturer invested in compliance rather than cutting corners on the power supply.
Step 5: Consumer Electronics Inspection Checklist
A consumer electronics inspection checklist turns a subjective "this feels cheap" reaction into a repeatable pass-or-fail process. Use it every time you evaluate a new device.
Quick-Reference Checklist
- Housing seams even, no sharp edges
- All screws present and undamaged
- Solder joints shiny and concave
- No flux residue or bridged pins
- UL mark present and file number verifiable
- Cables and connectors fit snugly
- Device powers on and holds a charge
- No unusual heat, smell, or noise during use
| Check | Tool Needed | What Failure Signals |
|---|---|---|
| Housing fit | Hands, eyes | Poor molding or assembly |
| Solder quality | Loupe | Cold or rushed soldering |
| Continuity | Multimeter | Broken traces, bad joints |
| Certification | Label, UL database | Unverified safety compliance |
| Stress behavior | Burn-in test | Premature component failure |
Step 6: Functional and In-Circuit Testing Methods
Functional and in-circuit testing confirms that a device performs as designed, not just that it looks correct. These methods catch defects that visual inspection misses, a cracked trace under a connector, a marginal capacitor, or a firmware bug that only appears under load.
Multimeter and Continuity Checks
Set your multimeter to continuity mode and test suspected joints and traces. A healthy connection beeps; a failing one stays silent or shows high resistance. For powered circuits, measure voltage rails against the schematic to confirm signal integrity. Keep these habits in mind:
- Discharge bulk capacitors before probing a board that was recently powered.
- Use fine-tip probes; standard probes are too wide for 0402 and 0201 SMT pads and will bridge adjacent pins.
- Compare readings against a known-good unit when no schematic is available. A rail that reads 3.28 V on a good board and 2.91 V on a suspect one is a real signal, not noise.
- In diode mode, a shorted rail typically reads near 0 V in both directions, while an open trace reads OL in both directions.
Burn-In Testing and Stress Testing
Burn-in testing runs a device continuously for an extended period to surface early failures, the classic "bathtub curve" infant-mortality window. A practical consumer burn-in is 24 to 72 hours of continuous operation at normal load, with periodic checks for heat, noise, and dropped connections (NASA SSRI Knowledge Base). Stress testing pushes voltage, temperature, and load beyond normal limits to expose marginal components.
A few concrete approaches:
- Thermal soak. Run the device in a warm room (around 90-100°F) for several hours. Components that are marginal at room temperature often fail here.
- Load cycling. Alternate between idle and full load every 15-30 minutes. This stresses solder joints and power delivery more than steady-state operation.
- Thermal imaging. An inexpensive infrared camera or a handheld IR thermometer can reveal a component running 20-30°F hotter than its neighbors, often the first sign of a counterfeit or underrated part.
Manufacturers use flying probe and in-circuit testing (ICT) fixtures on production lines. Flying probe testing moves a set of probes across a bare or populated board to measure nets without a custom fixture, which makes it economical for low-volume and prototype runs. ICT uses a bed-of-nails fixture to test many nets simultaneously, which is faster but only cost-effective at high volume. Hobbyists can approximate the logic with a controlled power supply, a current-limited bench supply, and thermal imaging to spot hot spots.
Software-Based Quality Verification
Physical inspection and bench testing miss firmware-level problems. A device can have perfect solder joints and still ship with buggy firmware that causes random reboots, thermal throttling, or battery drain. Software diagnostics are the fastest way to catch these issues, and they are the step most consumer guides skip entirely.
- Built-in diagnostics. Many laptops, phones, and smart home devices ship with a hidden diagnostic mode (often reached through a key combination at boot or a service menu). These menus report battery health, sensor status, and error logs that a visual inspection cannot reveal.
- Firmware and driver version checks. Compare the installed firmware version against the manufacturer's latest release notes. A device shipping with firmware several revisions behind is a sign of stale inventory or a seller who never updated it.
- Stress-test software. Tools that run CPU, GPU, memory, and storage at full load for an extended period will surface thermal throttling, memory errors, and storage failures. Watch for frame-rate drops, clock-speed throttling, or SMART warnings during the run.
- Log review. On devices that expose logs, look for repeated error codes, watchdog resets, or thermal warnings. A single error is noise; a pattern is a defect.
Step 7: Common Mistakes to Avoid When Verifying Electronics Build Quality
The biggest mistake is judging electronics build quality by the spec sheet alone. Marketing copy lists features, not assembly discipline.
Other frequent errors:
- Testing only the outside and never opening the case
- Assuming a high price guarantees genuine components
- Skipping burn-in because the device works on first power-up
- Trusting third-party sellers without supply chain verification
A common mistake is treating one good unit as proof of a whole production run. Process consistency varies batch to batch, so sample more than one device when you can.
Verifying electronics build quality takes patience, but the payoff is avoiding devices that fail when you need them most. NovexaTech LLC offers a curated selection of premium electronics, gaming gear, and smart home devices designed to enhance your modern lifestyle. From high-performance gaming controllers and wireless audio solutions to innovative home decor and smart health trackers, we provide cutting-edge technology for every need. Our collection combines functionality with style, ensuring you stay connected, entertained, and comfortable in your daily life. If you'd rather skip the guesswork, start with a collection built for people who check the details. Get started with NovexaTech LLC and choose devices you can trust from day one.
Frequently Asked Questions
What physical signs indicate poor build quality in electronics?
Look for uneven solder joints, misaligned components, loose connectors, and gaps in the casing. A wobbly power port or a screen that flexes under light pressure often means weak internal mounting. Check for scratches on the PCB or residue around chips, which can signal rework. If screws are missing or the housing does not sit flush, the device may have been assembled without proper quality control. These signs matter because they often precede early failures.
How can I check the quality of a product before buying?
Start by verifying UL certification on the packaging or label. Look for a UL mark with a file number you can check online. Read independent reviews that mention long-term durability, not just unboxing. Ask about the return policy and warranty length. For smart home devices, confirm they support common protocols like Wi-Fi or Zigbee. A consumer electronics inspection checklist can help you compare models side by side and avoid products with vague certification claims.
How do I test electronic components without specialized equipment?
A basic digital multimeter costs little and can check continuity, voltage, and resistance. For cables, a continuity check confirms no breaks. For power supplies, measure the output voltage against the rating. You can also do a simple burn-in test by running the device continuously for a few hours and monitoring for overheating or unexpected shutdowns. These steps catch many defects that visual inspection alone misses, especially in SMT components.
Why does build quality matter for long-term device performance?
Poor build quality leads to premature failures, especially in devices that run hot or get handled daily. Weak solder joints can crack from thermal cycling, causing intermittent faults. Cheap capacitors may bulge or leak within a year. Good build quality means the device holds up under electrical stress and physical wear, so you replace it less often. It also reduces safety risks like short circuits or battery swelling, which is why UL certification matters.